
How to Do a Northern Sea Star Dissection at Home (What I Learned from Tidepool Tim)
Growing up with a marine biologist as a father, I’ve done a lot of science-related activities at home. Over the years, my dad has taught me that hands-on learning doesn’t have to be complicated to be meaningful—especially when you understand what you’re looking at. In this post, I’m walking you through a Northern sea star dissection and sharing what I’ve learned from doing it alongside my dad, Tidepool Tim.
As both a marine biologist and a school teacher, my dad has dissected dozens of sea stars over the years. He does an amazing job explaining Northern sea star anatomy and breaking the dissection process down in a way that makes marine biology easy to understand. If you’d rather follow along on his YouTube, you can watch the full video here: https://www.youtube.com/watch?v=_YCNlt8YXXE
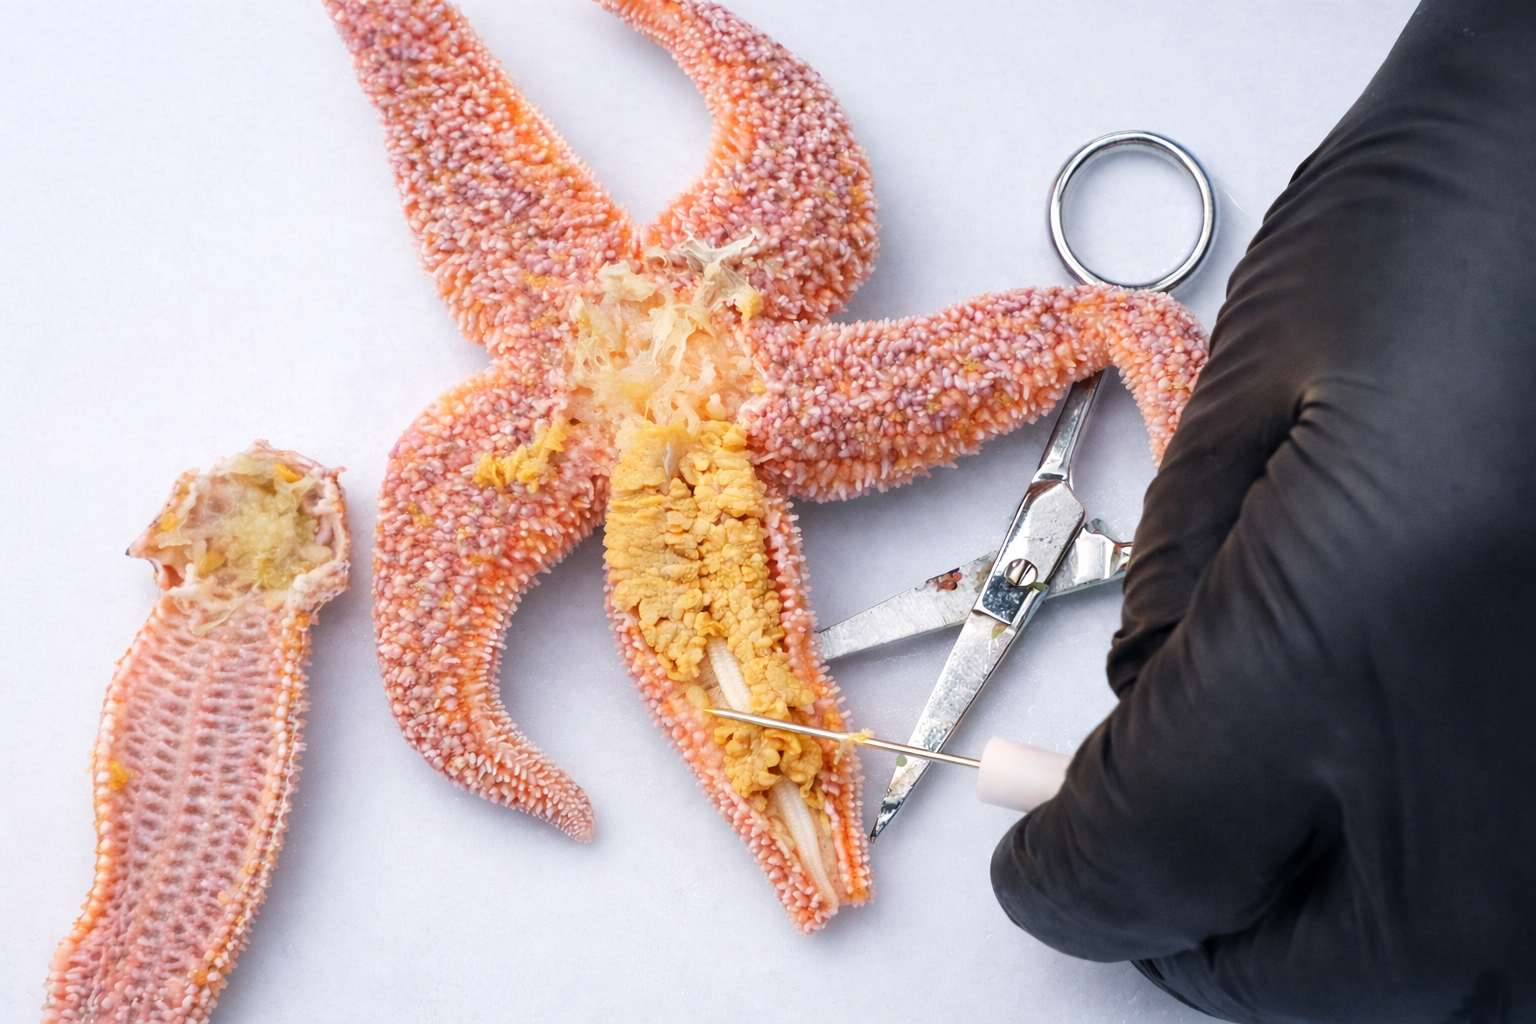
Internal anatomy of a Northern sea star during dissection, including the digestive gland and central disc.
What You’ll Need (and What You Actually Don’t)
One of the first things my dad made clear is that you don’t need a full lab setup to do a starfish dissection at home.
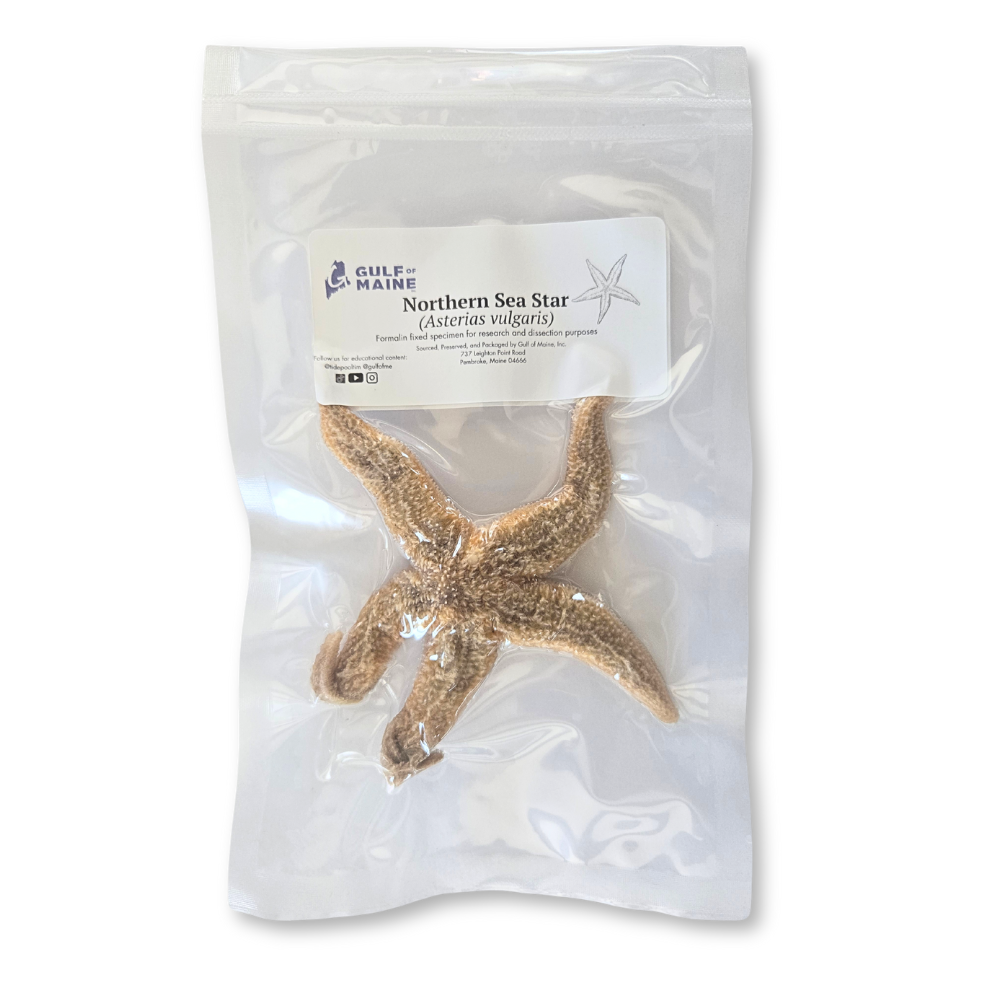
Preserved Northern sea star specimen prepared for hands-on dissection.
In the video, he keeps it simple:
gloves
eye protection
a tray
a pair of scissors
and of course, the starfish
He uses a probe to point things out, but even that isn’t necessary. If your scissors have a pointed tip, that works just fine.
That’s something I’ve really taken away from doing this—homeschool science doesn’t have to be complicated or expensive to be effective, and leave a lasting impression.
If you’re thinking about trying this at home, we offer preserved Northern sea stars and other marine specimens so you can follow along with the same kind of hands-on experience I’ve had learning alongside my dad. Shop Preserved Northern Sea Stars →https://gulfofme.com/preserved-vac-sealed-specimens/p/preserved-sea-star-asterias-vulgaris
Preparing the Sea Star (Don’t Skip This)
Before starting, there’s one step my dad always emphasizes that’s easy to overlook:
Let the sea star soak in water overnight (or even a few hours before dissection).
Since dissection specimens are preserved in formalin, soaking helps reduce the smell and makes the whole experience more manageable—especially if you’re doing this at home. He explains that it helps diffuse the preservative so you’re not dealing with super strong fumes while you work.
It’s a small detail, but it makes a big difference! If you don’t have time to pre-soak the star, you can also let it run under water in your kitchen sink for a few minutes before.
Starting with the External Anatomy
Before cutting anything, my dad starts with the outside of the sea star. This part matters, because it helps everything inside make more sense later. Let’s take a look at some sea star anatomy.
The first thing he points out is the sea star’s five rays, or arms. On the top side, he identifies the small yellowish-orange spot called the madreporite. This is an important structure because it helps move water in and out of the sea star’s body to power its hydraulic system.
He also points out the stiff little immovable spines on the dorsal side. These are part of the sea star’s exoskeleton, which helps protect it from predators. One thing I like about the way he explains it is that he makes clear how tough sea stars really are. They may not look heavily armored at first, but their body is much harder and more protective than most people expect.
On the underside of the sea star, he shows the ambulacral grooves running down each arm. Inside those grooves are the soft tube feet. These are not only what the sea star uses to move across the seafloor, but also what it uses to grab prey like clams, mussels, and scallops. He also mentions that these structures help with gas exchange, which is another detail a lot of people would probably miss if they were just reading about it.
And right in the center of the underside is the mouth.
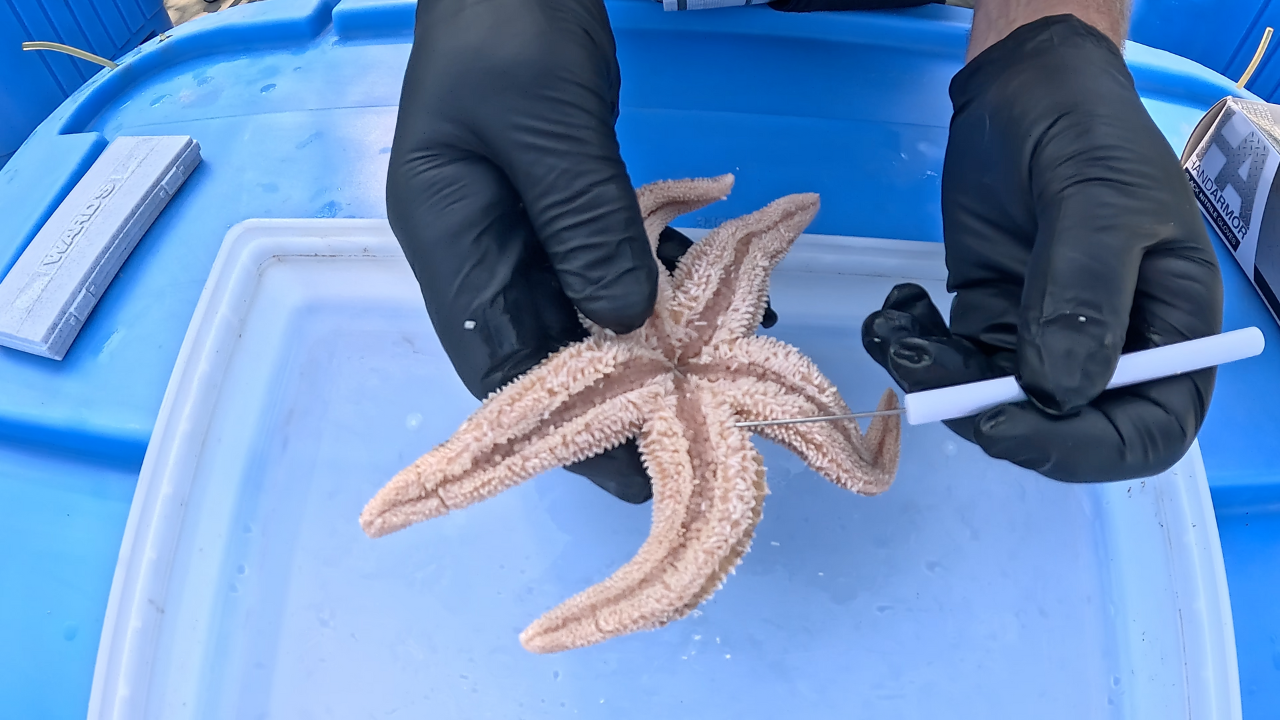
Underside of a Northern sea star showing tube feet and ambulacral grooves.
Opening the Sea Star
When it is time to begin the dissection, my dad chooses one arm and snips off the tip. Then he inserts the scissors and cuts up the side of the arm, around the central disc, and back down again so the top part of the exoskeleton can be peeled back.
That step alone makes this a great homeschool science activity, because once the body is opened, the internal structures are much easier to understand than they are in diagrams.
He also gives a practical safety note here: safety goggles matter, because sometimes preservative fluid can squirt out while you cut.
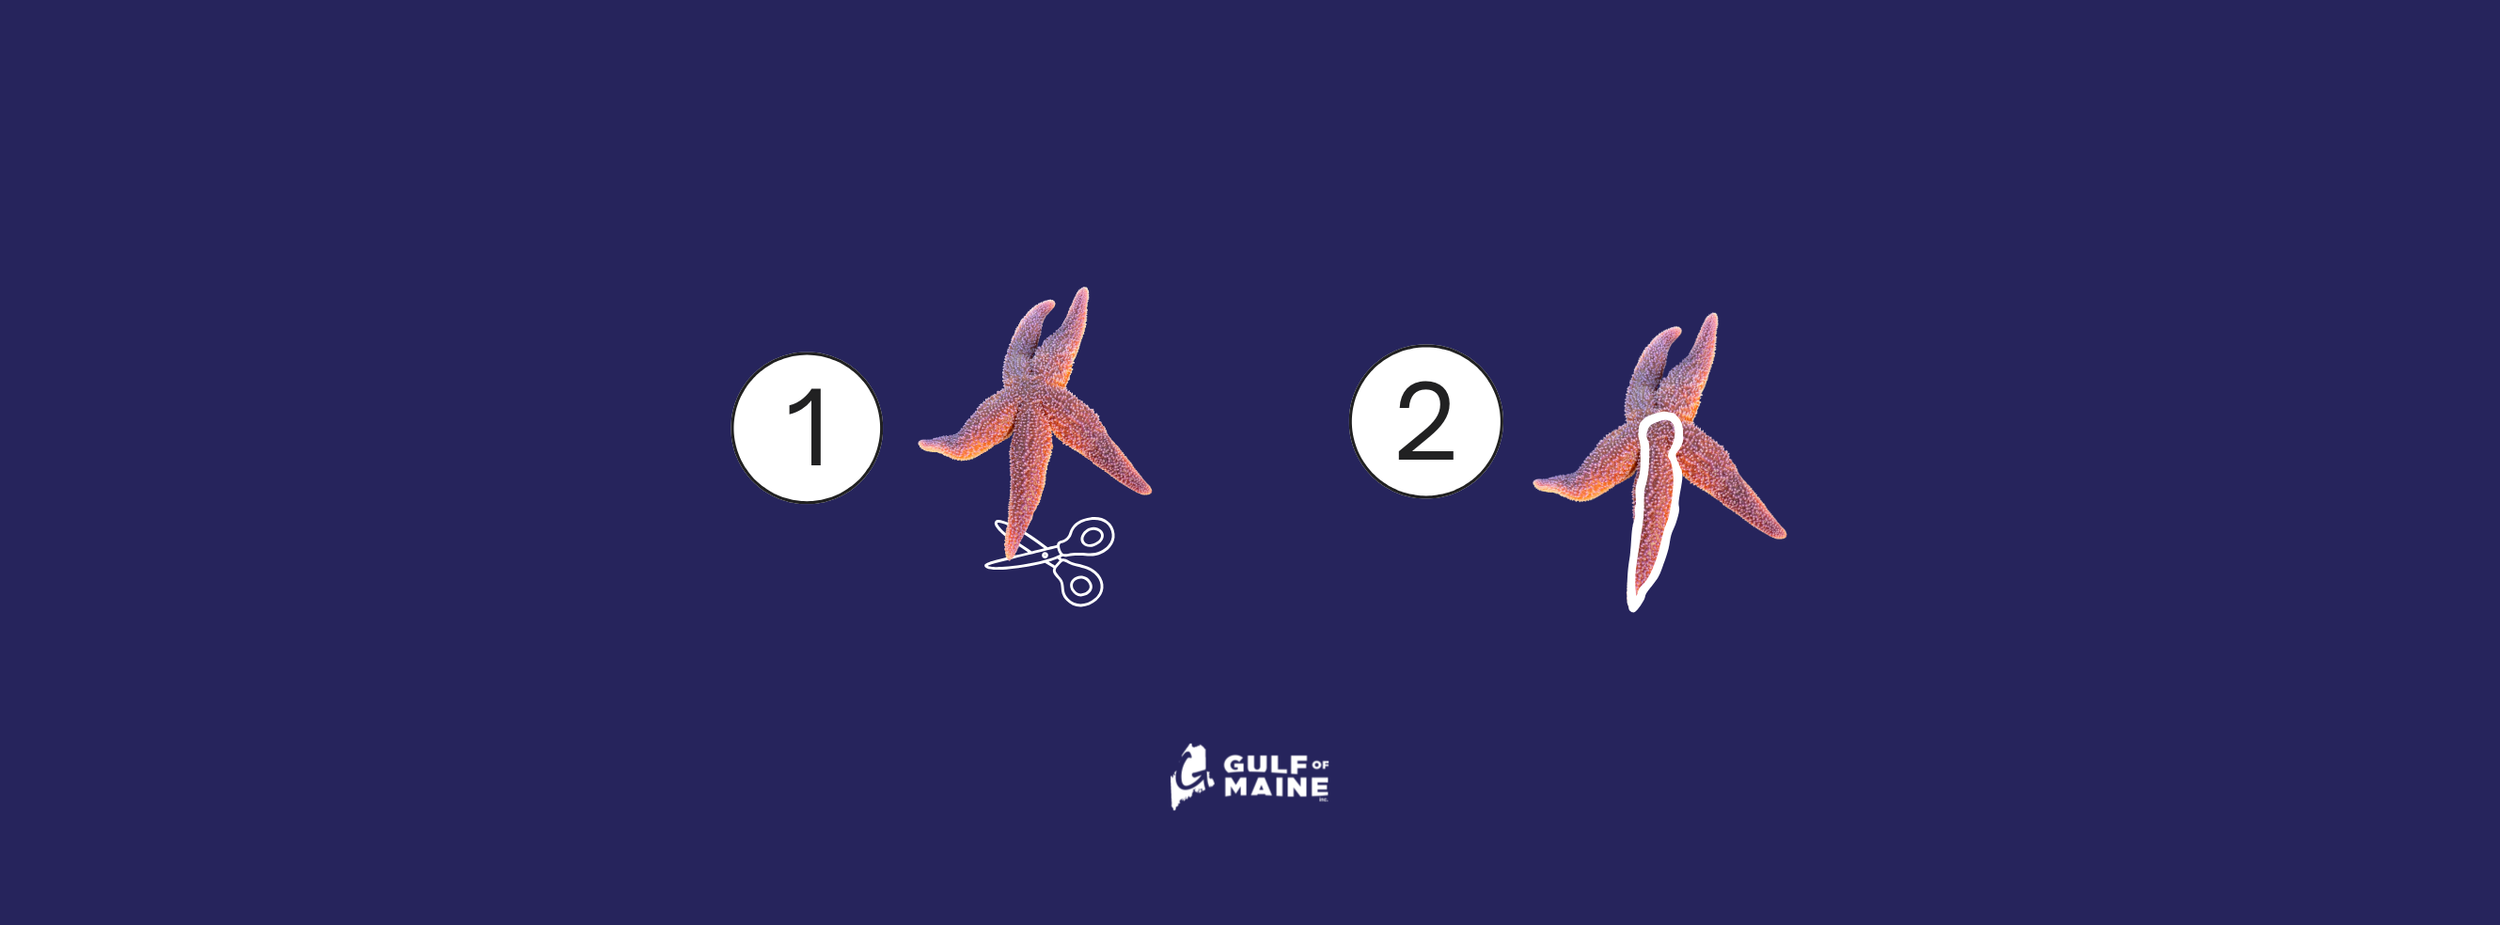
Step-by-step overview of how to begin a Northern sea star dissection.
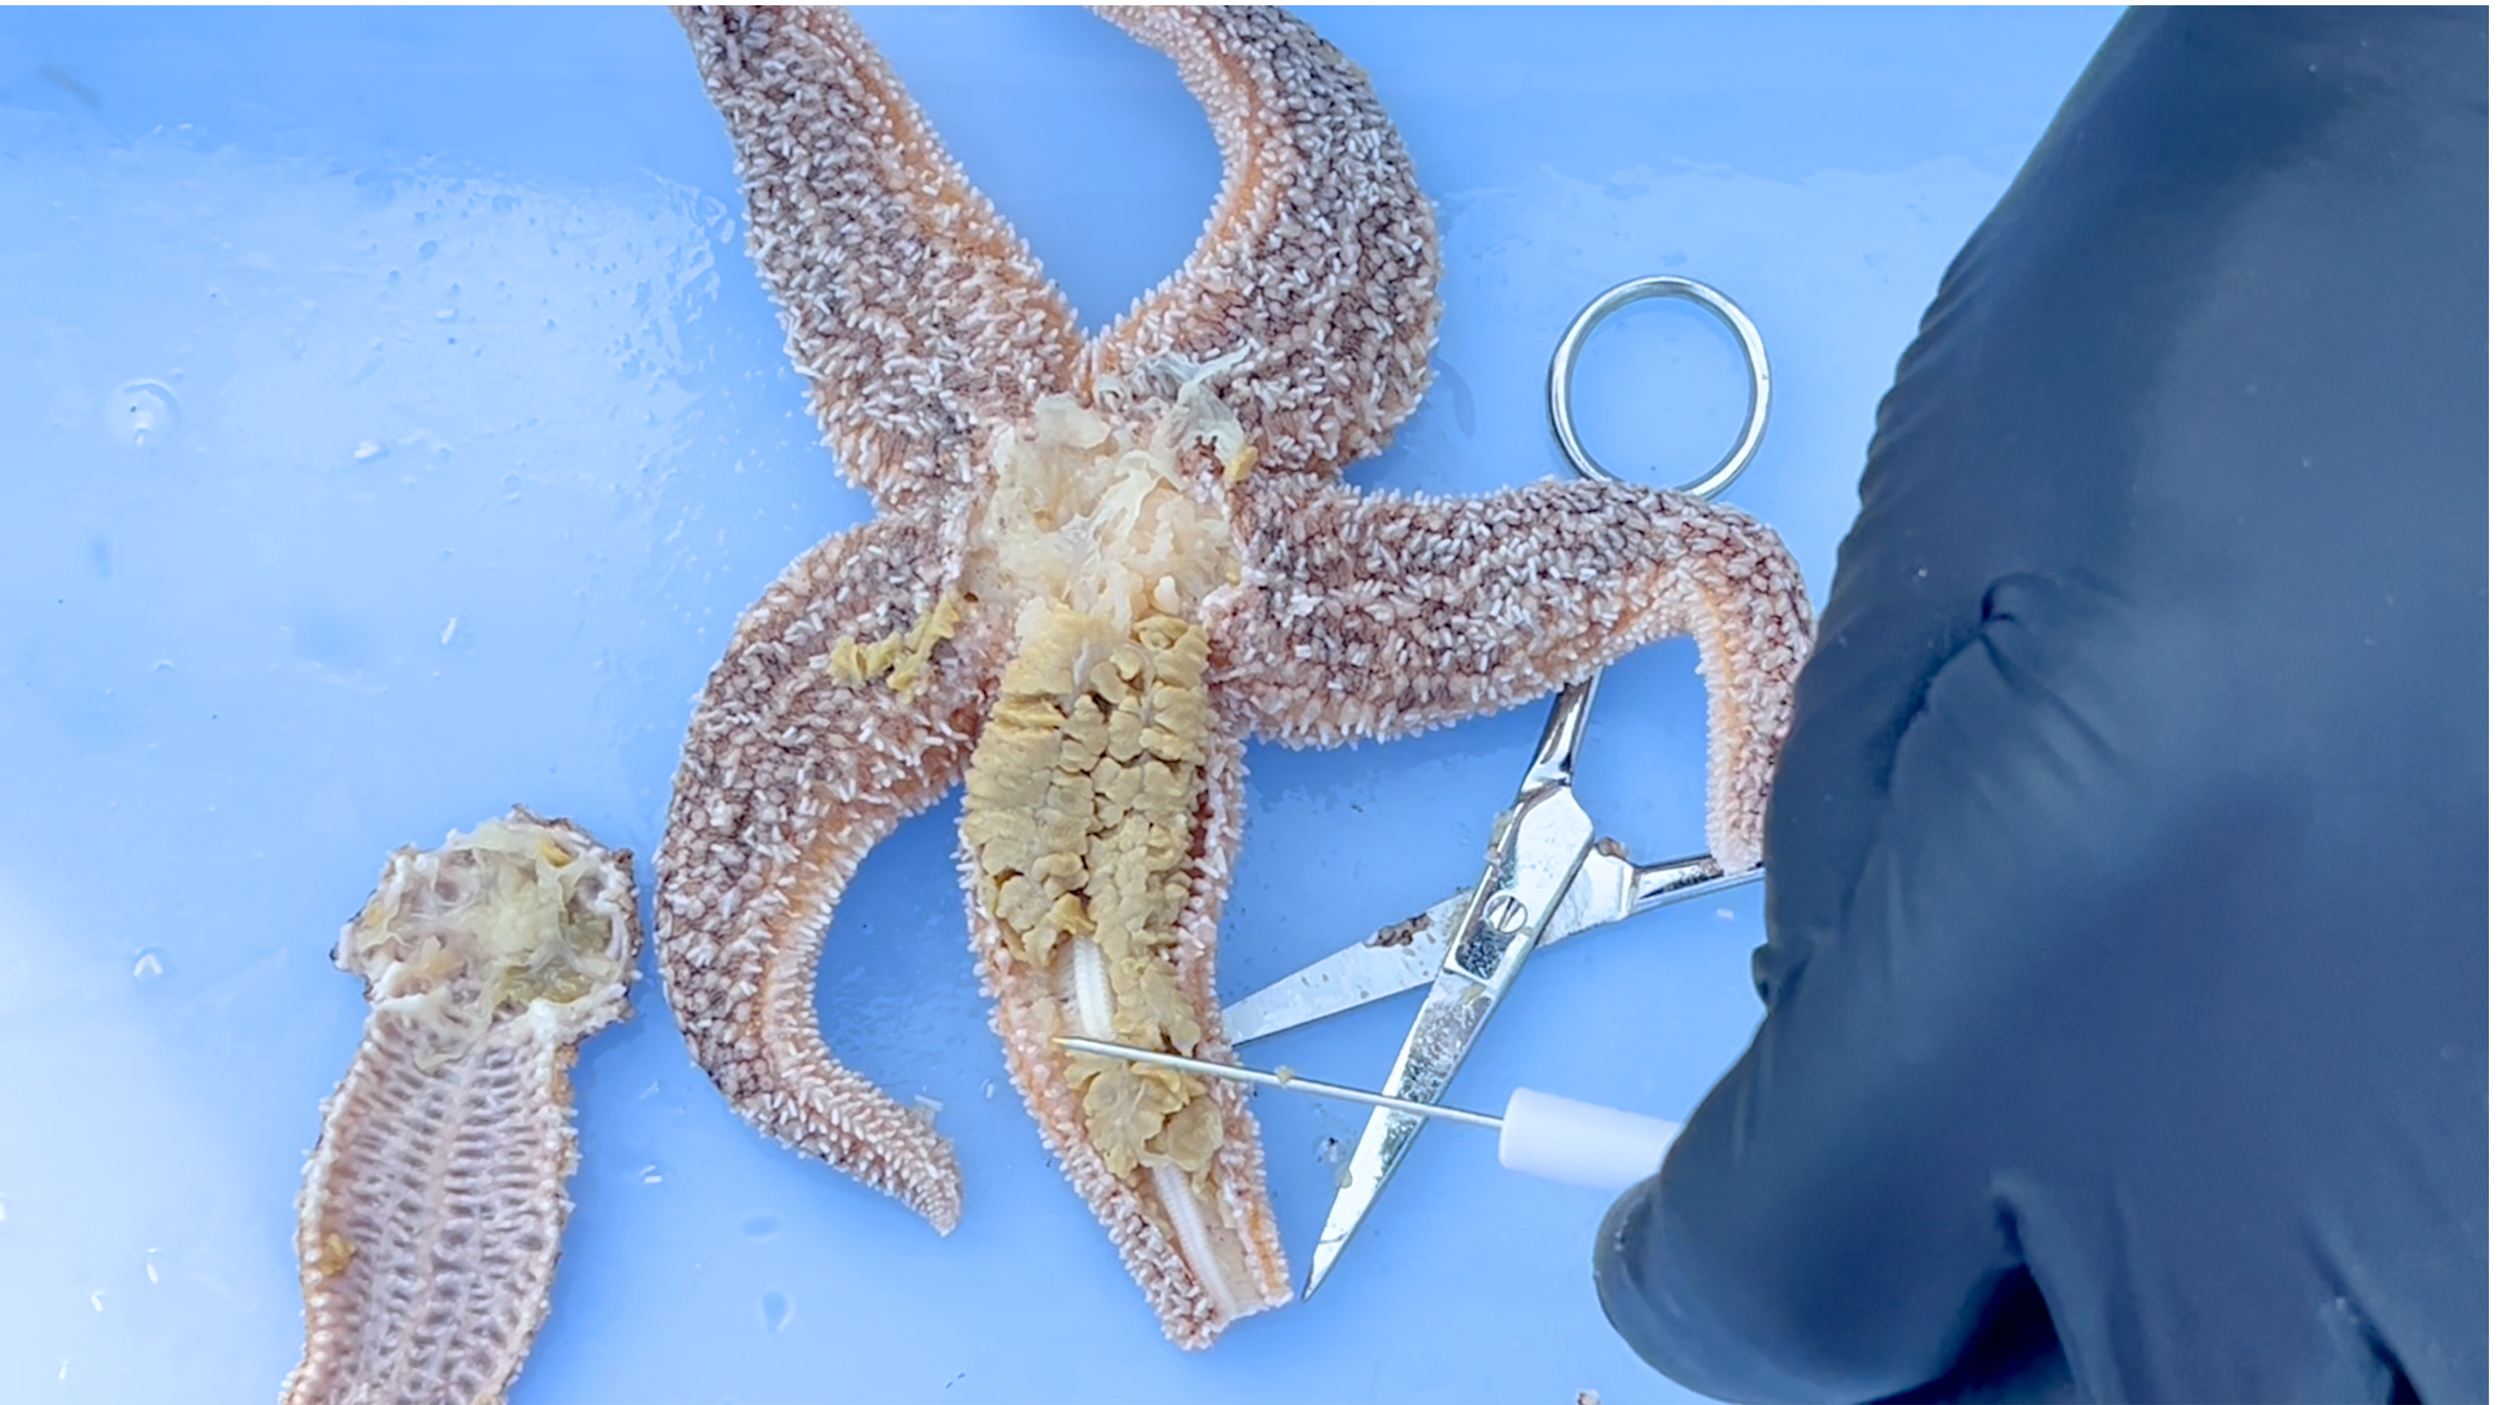
Northern Sea Star Internal Anatomy: What You See First
Once the top is slowly peeled back, the first major structure he identifies is the stomach in the middle. This is one of the most memorable parts of the whole dissection because he explains that sea stars can actually push their stomach outside of their body while feeding.
That detail is so much easier to understand once you see where the stomach sits in the central disc. He compares it to a deflated water balloon, which is such a useful visual.
Then he shows the brown tissue inside the arm, which he identifies as the digestive gland. This is what helps break down the sea star’s food after enzymes are secreted and digestion begins. In the video, he connects this directly to how the sea star feeds on shellfish, which makes the anatomy feel much more functional and less like a list of parts to memorize. We love easy science!
The Hydraulic System Inside the Arm
One part I definitely should have included before is how much emphasis he puts on the sea star’s water-powered system.
He points out the structures along the arm that connect to the tube feet, explaining that these are the canals that allow water pressure to move through the animal. He describes this whole system as hydraulic, which is a really effective way to explain how a sea star can move, feed, and even breathe without anything that looks like a typical skeleton or muscular system.
He also points out the strong calcium-based part of the exoskeleton inside the arm, almost like the structural support of the ray.
Gonads, Radial Canal, and Ring Canal
Another detail from the video is the gonad. In this particular specimen, my dad explains that the gonad is small because the sea star is still young and not sexually mature. If it were larger and ready to spawn, the gonad would be much more developed.
After moving the stomach out of the way, he then identifies the radial canal, and then the ring canal, which is the circular canal in the center of the sea star.
This is a big teaching point in the video. He explains that the ring canal conducts and pumps water to each of the different arms. The way he describes it is almost like a central hydraulic pump. So even if the star only has one arm submerged under water (for example at low tide) the sea star can pull and push water from that one arm to the rest of its body and rays—amazing!
Internal anatomy of a Northern sea star, including the digestive gland and central disc.
One of the Coolest Takeaways
Toward the end of the dissection, my dad points out that if you do not feel like your first arm came out perfectly, you still have four more arms to examine. That is such a helpful note for students, parents, and homeschoolers, because it takes the pressure off.
He also explains that while the anatomy is basically the same in each arm, one may have a larger digestive gland or more developed gonads than another. That creates a really nice opportunity to compare structures instead of treating the dissection like a one-and-done activity.
And then he brings up one of the most fascinating parts of sea star biology: regeneration. If a sea star is cut into pieces, an arm can regrow into a whole new sea star as long as it still has part of the central disc and central canal area attached.
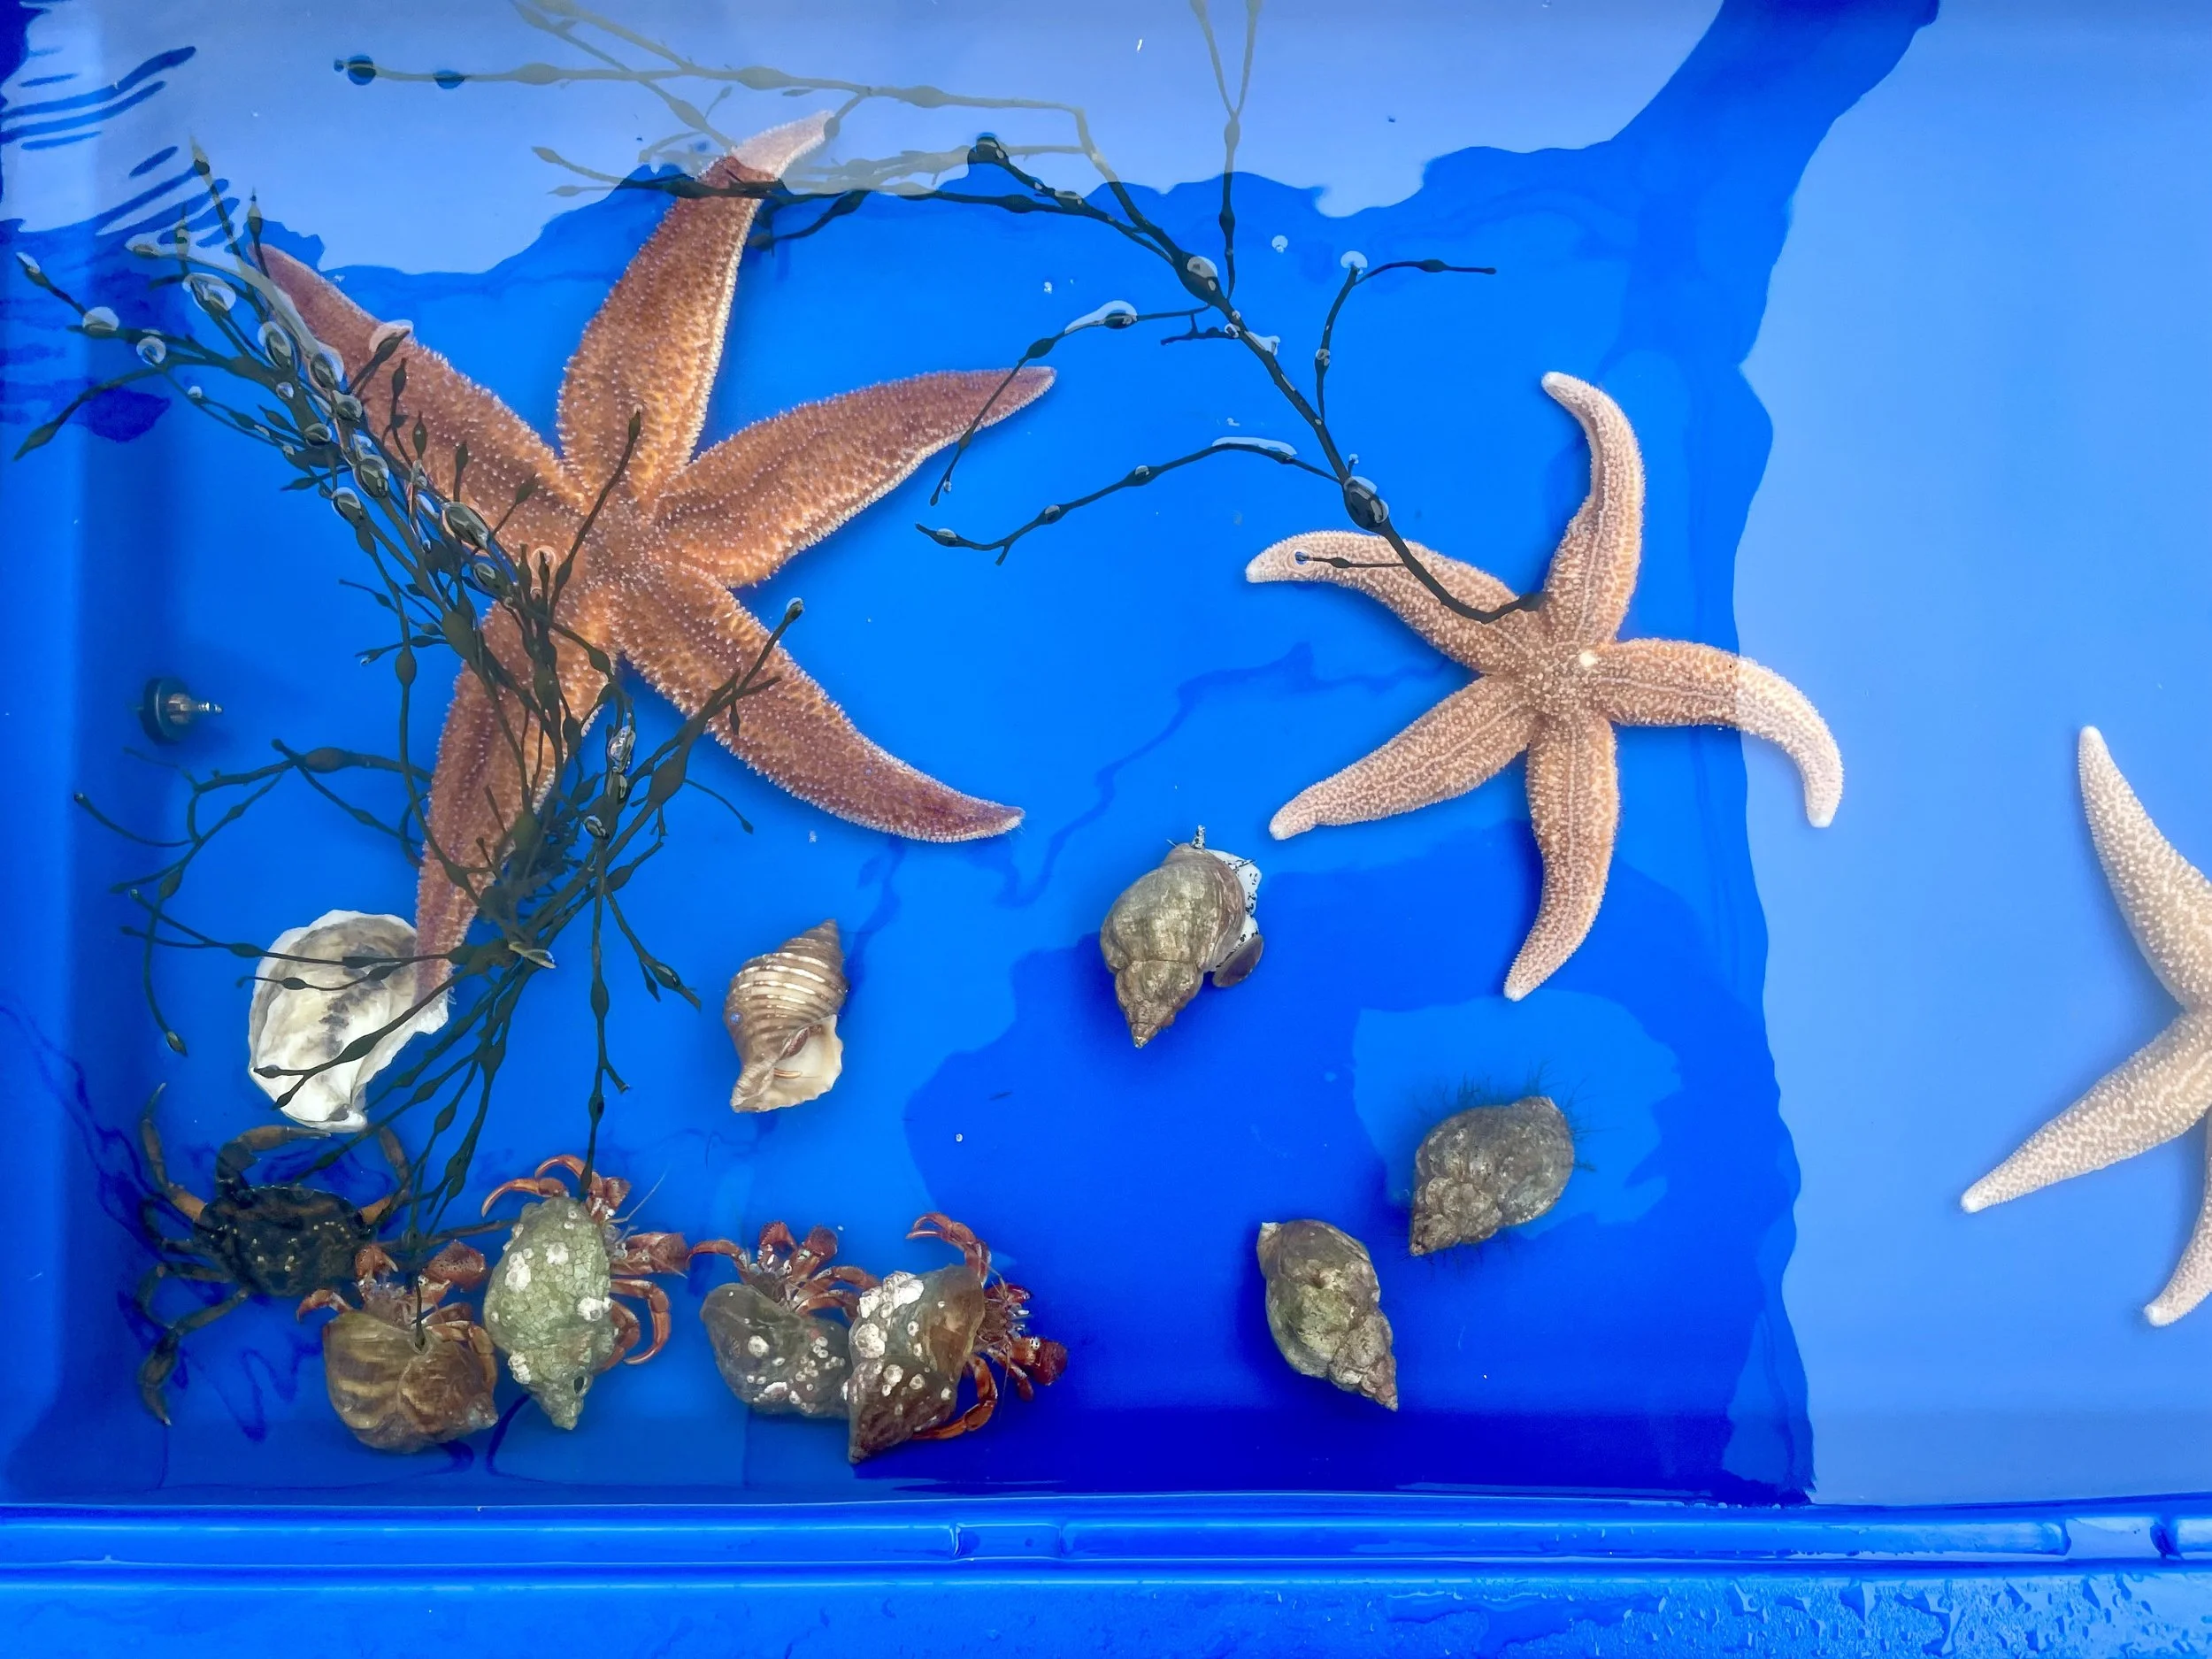
Northern sea stars in their natural tidepool habitat along the Gulf of Maine.
Final Thoughts
Doing a Northern sea star dissection and any marine biology dissection this way makes the anatomy feel much more connected and understandable. Instead of just naming parts, my dad walks through what each structure actually does: how the madreporite, ring canal, and radial canal support the hydraulic system, how the tube feet help the sea star move and feed, how the stomach can extend outside the body, and how the digestive gland processes food.
That is what makes this feel like real learning instead of just a science exercise.
If you’re interested in trying a Northern sea star dissection at home, having the right specimen makes the entire experience more meaningful. We offer preserved Northern sea stars and other marine specimens designed for hands-on learning.
If you’re an educator or purchasing for a classroom or program, we also offer wholesale options and can help you get the right materials in the right quantities.
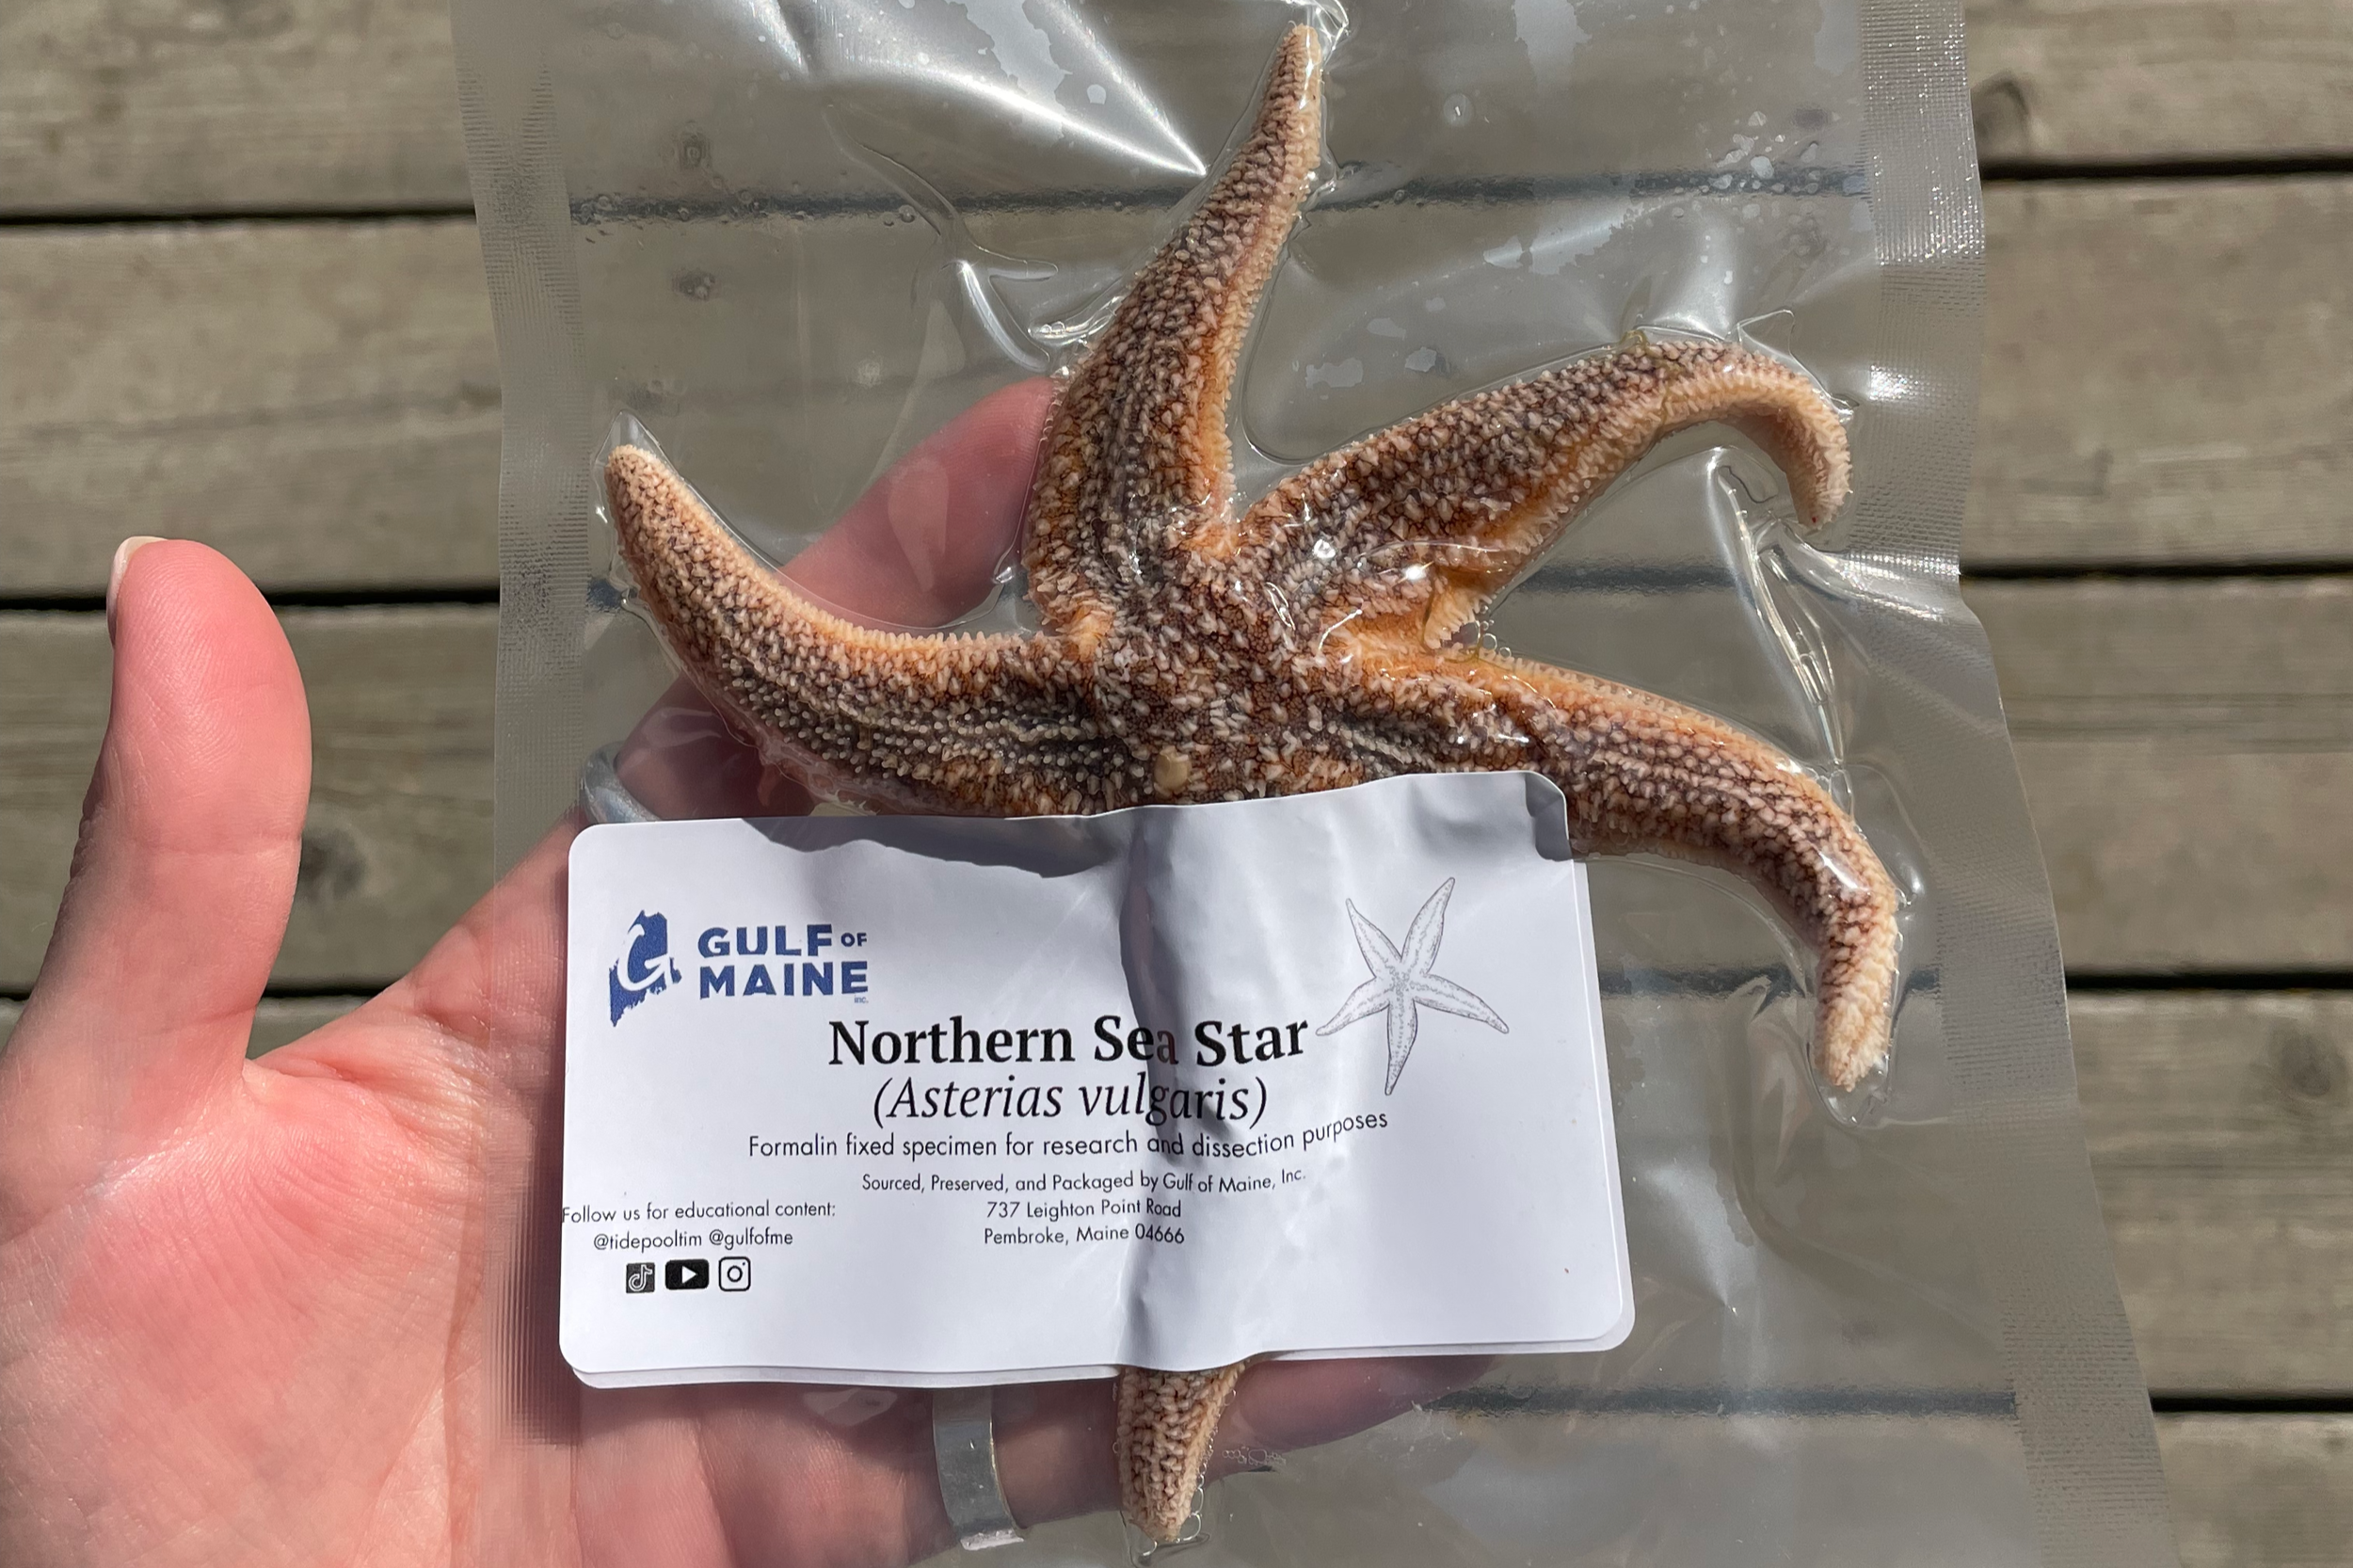
Preserved Northern sea star ready for homeschool science and dissection.
FAQ’s
-
Preserved Northern sea stars are sourced through regulated marine harvesting in the Gulf of Maine. These fisheries are managed to ensure sustainable collection practices and protect local ecosystems. Responsible sourcing is an important part of making sure specimens can be used for education while maintaining healthy marine populations.
-
During a Northern sea star dissection, you can identify structures like the stomach, digestive glands, gonads, radial canals, and ring canal. These systems help the sea star feed, reproduce, and move.
-
With proper supervision and basic safety precautions like gloves and eye protection, a sea star dissection can be a safe and effective homeschool science activity.
-
Northern sea stars are a great option because they are common, easy to work with, and have clearly visible anatomical structures, making them ideal for learning.
-
Northern sea stars are commonly used for dissection because their anatomy is clearly visible and easy to identify. Their size and structure make them ideal for students and homeschool science activities.